To open Trust Wallet, download the app from the App Store or Google Play, install it, and launch it on your device.
Downloading Trust Wallet
From Google Play Store
To download Trust Wallet on your Android device, follow these steps:
- Open Google Play Store: Locate and open the Google Play Store app on your Android device.
- Search for Trust Wallet: In the search bar at the top, type “Trust Wallet” and press enter. Look for the official Trust Wallet app developed by DApps Platform Inc.
- Select the App: Tap on the Trust Wallet app from the search results to open its details page.
- Download and Install: Click the “Install” button to start downloading the app. Once the download is complete, the app will automatically install on your device.
- Open Trust Wallet: After installation, tap “Open” to launch the app. You can also find the Trust Wallet icon on your home screen or app drawer.
From Apple App Store
To download Trust Wallet on your iOS device, follow these steps:
- Open Apple App Store: Locate and open the Apple App Store on your iPhone or iPad.
- Search for Trust Wallet: Tap on the search icon at the bottom of the screen, then type “Trust Wallet” into the search bar and press enter. Look for the official Trust Wallet app developed by SIX DAYS LLC.
- Select the App: Tap on the Trust Wallet app from the search results to view its details page.
- Download and Install: Click the “Get” button, and then confirm your download with Face ID, Touch ID, or your Apple ID password. The app will download and install on your device.
- Open Trust Wallet: Once installed, tap “Open” to launch the app. You can also find the Trust Wallet icon on your home screen.
Installing Trust Wallet
Installation Steps for Android
To install Trust Wallet on your Android device, follow these detailed steps:
- Open Google Play Store: Find and tap the Google Play Store icon on your Android device.
- Search for Trust Wallet: In the search bar at the top, type “Trust Wallet” and hit enter. Ensure you select the official app by DApps Platform Inc.
- Select the App: Tap on the Trust Wallet app from the search results to open its app details page.
- Download the App: Click the “Install” button to start downloading the app. The size of the app and your internet speed will determine the download time.
- Install the App: Once the download is complete, the app will automatically install on your device.
- Open Trust Wallet: After installation, you can tap “Open” directly from the Play Store or find the Trust Wallet icon on your home screen or app drawer to launch the app.
Installation Steps for iOS
To install Trust Wallet on your iOS device, follow these detailed steps:
- Open Apple App Store: Locate and tap the Apple App Store icon on your iPhone or iPad.
- Search for Trust Wallet: Tap the search icon at the bottom of the screen, then type “Trust Wallet” into the search bar and press enter. Ensure you select the official app by SIX DAYS LLC.
- Select the App: Tap on the Trust Wallet app from the search results to view its app details page.
- Download the App: Click the “Get” button. You may need to authenticate the download with Face ID, Touch ID, or your Apple ID password.
- Install the App: The app will download and install automatically. The process may take a few moments depending on your internet connection.
- Open Trust Wallet: Once installed, tap “Open” to launch the app. You can also find the Trust Wallet icon on your home screen to start using it.
Setting Up a New Wallet
Creating a New Wallet
To create a new wallet in Trust Wallet, follow these steps:
- Open Trust Wallet: Launch the Trust Wallet app on your device.
- Create a New Wallet: On the welcome screen, tap on “Create a New Wallet.”
- Terms and Conditions: Read and accept the terms of service and privacy policy by checking the box and tapping “Continue.”
- Set a Security Password: You may be prompted to set a password or enable biometric authentication (such as fingerprint or Face ID) for added security. Follow the on-screen instructions to set this up.
- Recovery Phrase: The app will generate a 12-word recovery phrase. This is crucial for accessing your wallet in case you lose your device.
Backing Up Recovery Phrase
Backing up your recovery phrase is an essential step to ensure you can always access your wallet. Here’s how to do it:
- Write Down the Recovery Phrase: Write down the 12-word recovery phrase exactly as it appears on the screen. Make sure to keep it in the same order.
- Secure Storage: Store the recovery phrase in a safe and secure location. It’s recommended to write it down on paper and keep it offline to prevent hacking. Avoid storing it digitally where it can be vulnerable to cyber threats.
- Confirm Recovery Phrase: Trust Wallet will prompt you to confirm your recovery phrase by selecting the words in the correct order. This step ensures that you have correctly recorded the phrase.
- Completion: Once you have confirmed your recovery phrase, your wallet setup is complete. You can now start using Trust Wallet to manage your cryptocurrencies.
Importing an Existing Wallet
Using a Recovery Phrase
If you already have a Trust Wallet or another compatible wallet, you can import it into Trust Wallet using your recovery phrase. Here’s how to do it:
- Open Trust Wallet: Launch the Trust Wallet app on your device.
- Select “I already have a wallet”: On the welcome screen, tap on “I already have a wallet.”
- Choose Wallet Type: Select the type of wallet you want to import, such as a multi-coin wallet or a specific cryptocurrency wallet.
- Enter Recovery Phrase: Input your 12-word recovery phrase exactly as it was originally provided. Make sure there are no typos and that the words are in the correct order.
- Complete Import: After entering the recovery phrase, tap “Import.” Your wallet and its assets will be restored in Trust Wallet.
Importing from Other Wallets
You can also import wallets from other platforms into Trust Wallet. Here’s a step-by-step guide:
- Obtain Recovery Phrase: Ensure you have the recovery phrase from the wallet you want to import. This can be from any compatible wallet that supports standard recovery phrases (e.g., MetaMask, MyEtherWallet).
- Open Trust Wallet: Launch the Trust Wallet app on your device.
- Select “I already have a wallet”: On the welcome screen, tap on “I already have a wallet.”
- Select Wallet Type: Choose the type of wallet you are importing from, such as a multi-coin wallet or specific blockchain wallet.
- Enter Recovery Phrase: Carefully enter the recovery phrase from your other wallet. Ensure accuracy to avoid errors.
- Import Wallet: Tap “Import” to complete the process. Trust Wallet will restore your wallet and assets based on the recovery phrase provided.
Securing Your Wallet
Enabling PIN Protection
Setting up PIN protection adds an additional layer of security to your Trust Wallet, ensuring that only you can access your wallet.
- Open Trust Wallet: Launch the Trust Wallet app on your device.
- Go to Settings: Tap on the “Settings” icon, typically located at the bottom right of the screen.
- Select Security: In the Settings menu, tap on “Security” to access security options.
- Enable App Lock: Toggle the switch to enable “App Lock.”
- Set PIN Code: You will be prompted to create a PIN code. Enter a 4-digit PIN that you can remember but is not easily guessable.
- Confirm PIN Code: Re-enter the PIN code to confirm. Once set, the PIN will be required to access the app and perform transactions.
Setting Up Biometric Authentication
For enhanced security and convenience, you can enable biometric authentication, such as fingerprint or Face ID, on your Trust Wallet.
- Open Trust Wallet: Launch the Trust Wallet app on your device.
- Go to Settings: Tap on the “Settings” icon at the bottom right of the screen.
- Select Security: Tap on “Security” in the Settings menu.
- Enable Biometric Authentication: Toggle the switch for “Biometric Authentication” to enable it. The exact wording may vary depending on your device (e.g., “Fingerprint Unlock” or “Face ID”).
- Follow Prompts: Follow the on-screen instructions to set up biometric authentication. This will typically involve scanning your fingerprint or face.
- Test Authentication: After setting up, test the biometric authentication to ensure it works correctly. You should now be able to unlock the app and authorize transactions using your biometric data.
Navigating the Trust Wallet Interface
Overview of the Home Screen
The Trust Wallet home screen is designed to provide a clear and concise overview of your cryptocurrency holdings and essential functions.
- Wallet Balance: At the top of the home screen, you will see your total wallet balance displayed in your preferred fiat currency. This gives you a quick snapshot of your portfolio’s value.
- Cryptocurrency List: Below the total balance, there is a list of all the cryptocurrencies and tokens you hold in your wallet. Each entry shows the coin’s logo, name, and current balance.
- Add Tokens: At the bottom of the cryptocurrency list, you will find an “Add Tokens” button. Tap this to search for and add new cryptocurrencies or tokens to your wallet.
- Navigation Bar: The navigation bar at the bottom of the screen provides quick access to the main sections of the app, including Wallet, DApps, Dex (Decentralized Exchange), and Settings.
Accessing Wallet Functions
Trust Wallet offers a range of functions to manage your cryptocurrencies effectively. Here’s how to access them:
- Send:
- Select Cryptocurrency: Tap on the cryptocurrency you want to send from the list on the home screen.
- Tap Send: On the cryptocurrency’s detail screen, tap the “Send” button.
- Enter Details: Input the recipient’s address and the amount you want to send. Optionally, you can adjust the network fee for faster or cheaper transactions.
- Confirm: Review the details and tap “Next” to confirm and send the transaction.
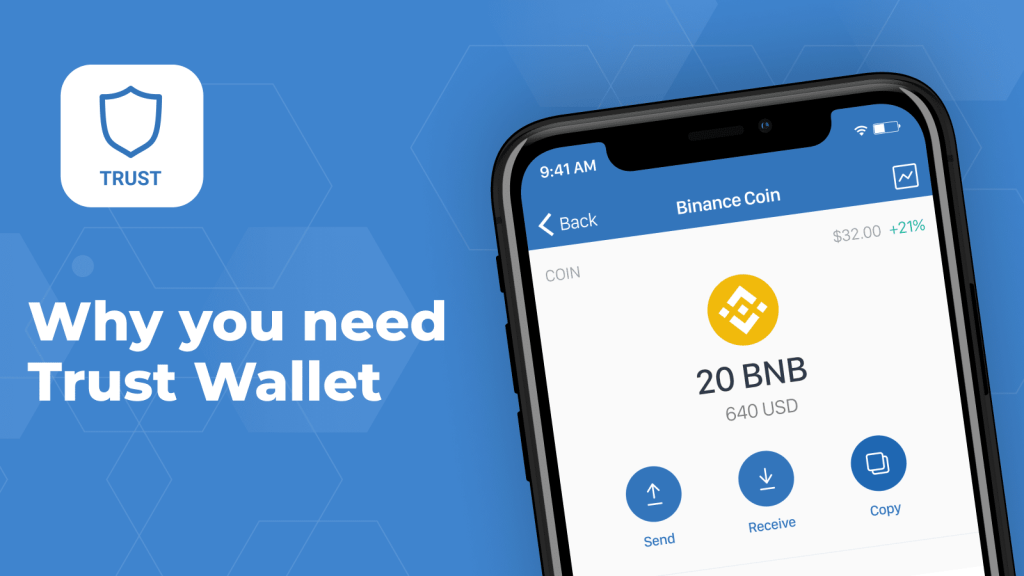
- Receive:
- Select Cryptocurrency: Tap on the cryptocurrency you want to receive from the list on the home screen.
- Tap Receive: On the cryptocurrency’s detail screen, tap the “Receive” button.
- Share Address: You will see your wallet address and a QR code. Share this address with the sender to receive funds.
- Swap/Exchange:
- Access Dex: Tap on the “Dex” icon in the navigation bar at the bottom of the screen.
- Select Tokens: Choose the tokens you want to swap from and to. Enter the amount and review the exchange rate.
- Execute Swap: Tap “Swap” to execute the transaction. Confirm the details to finalize the swap.
- View Transaction History:
- Select Cryptocurrency: Tap on the cryptocurrency you want to view from the list on the home screen.
- View History: Scroll down to see the transaction history, including all sent, received, and swapped transactions.
- Settings:
- Access Settings: Tap the “Settings” icon in the navigation bar.
- Security Options: Manage security settings, such as PIN protection and biometric authentication.
- Preferences: Adjust app preferences, including currency display and language settings.
Adding Cryptocurrencies
Adding Popular Coins
To manage popular cryptocurrencies in Trust Wallet, you need to add them to your wallet interface. Here’s how to do it:
- Open Trust Wallet: Launch the Trust Wallet app on your device.
- Access the Tokens List: On the home screen, scroll down to the bottom of your existing list of cryptocurrencies.
- Add Tokens: Tap on the “Add Tokens” button. This will open a search bar and a list of available tokens.
- Search for Coins: Type the name or symbol of the popular coin you want to add (e.g., Bitcoin, Ethereum, Binance Coin).
- Select and Enable: Find the coin in the search results and toggle the switch next to it to enable it. The coin will now appear in your wallet’s main list on the home screen.
Adding Custom Tokens
For lesser-known or newly issued tokens, you might need to add them manually as custom tokens. Here’s the process:
- Open Trust Wallet: Launch the Trust Wallet app on your device.
- Access the Tokens List: On the home screen, scroll down to the bottom of your existing list of cryptocurrencies.
- Add Tokens: Tap on the “Add Tokens” button. This will open a search bar and a list of available tokens.
- Custom Token Option: If the token does not appear in the search results, tap on “Add Custom Token” at the bottom of the screen.
- Enter Token Details:
- Network: Ensure you select the correct network for the token (e.g., Ethereum for ERC-20 tokens, Binance Smart Chain for BEP-20 tokens).
- Contract Address: Enter the token’s contract address. This information can be found on the token issuer’s website or through a blockchain explorer.
- Name and Symbol: Enter the token’s name and symbol (e.g., USDC, DAI).
- Decimals: Enter the number of decimals the token uses (usually provided by the token issuer).
- Save and Enable: After entering the details, tap “Done” or “Save.” The custom token will now appear in your wallet’s main list on the home screen.